
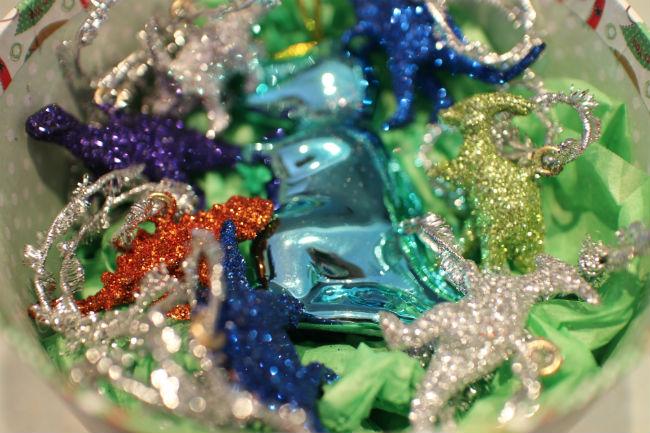
GLITTER DINOSAUR DECORATIONS
What you'll need
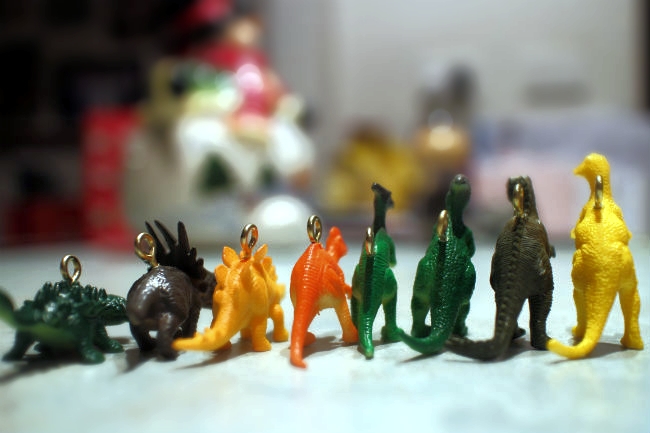
- a collection of plastic dinosaurs (I got these from KMart)
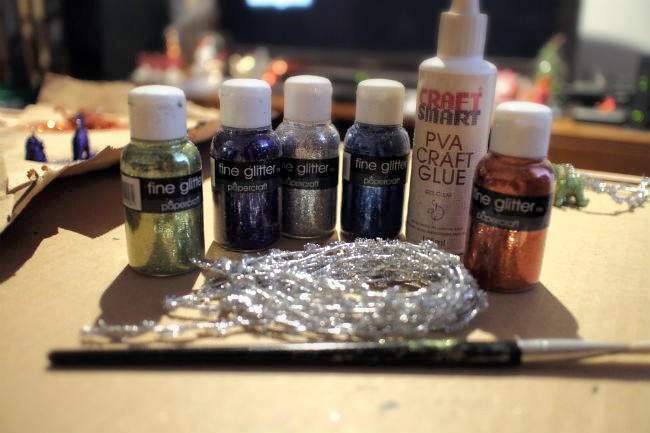
- different coloured glitter (fine glitter works better and has a bigger impact)
- craft glue
- screw in eye hooks
- spray on sealant
- paint brush (use an old one because you're painting with glue)
- string for hanging
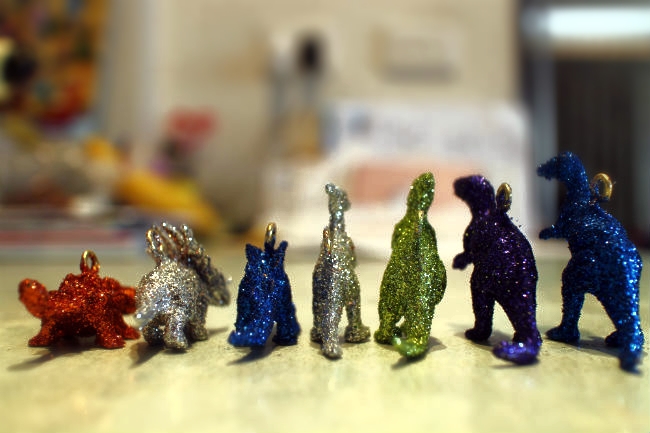
Step 1: Screw the eye hooks into the back of the dinosaurs. I chose a space on their back where they will hang nicely.

Step 2: Lay down some paper on your surface. You will get glitter everywhere so it's good to protect your table from it. Use your paintbrush to paint 1 dinosaur with craft glue then sprinkle the dinosaur with one colour of glitter. Make sure you cover the whole surface in glitter - allow to dry.
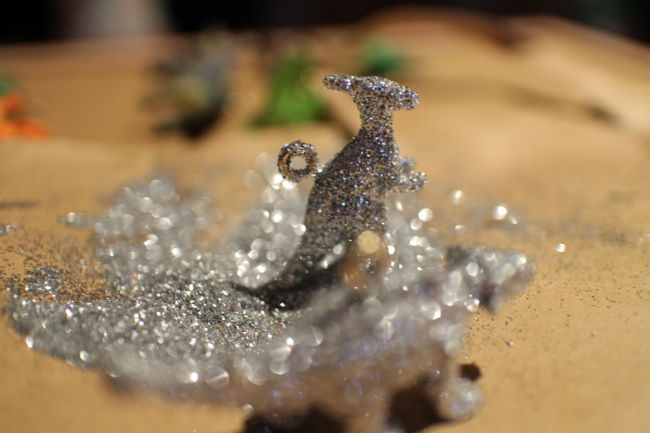
Step 3: After you have allowed the dinosaurs to dry look over them then add more glitter to parts that you have missed
Step 4: Use the spray on sealant as directed to ensure the glitter sticks FOREVER.
Step 5: String them up and hang them wherever your heart desires

SIMPLE!!!! I love a simple yet high impact decoration. The best thing about these is that they don't have to be just for Christmas - Dinosaurs are cool year round. I'm so excited to gift them to my friend. She loves dinosaurs so I think this will be a different take on "normal" Christmas decorations.
I'd love to see if you try any of the DIY's I share, just link in the comments
- Brooke
OMG OMG OMG. Okay, so, I think I need to do this this weekend! Thanks for the inspiration!
ReplyDeleteIf you do try this let me know!!! They were so easy but so awesome. I want to put glitter onto everything :)
Delete